

WEEK FOUR:
CYCLING TECHNIQUES AND TIPS
At Viva Velo we are experts in taking our clients on a journey from beginner to accomplished cyclist. Here is the fourth part of our Top Tips for New Cyclists Guide to get you cycling safely and enjoyably. This week we take you a little deeper into the techniques you can use to maybe go further and faster. But it is not all about speed and distance. By learning these simple tips you will improve your safety and make a huge difference to your confidence and enjoyment of cycling. Even if you are the most casual of leisure cyclists or simply use your bike to ride to the shops or work, improving your pedalling technique will mean you expend less energy and arrive at your destination fresher – in every sense of the word!
This blog will cover the following: cornering, how to use your gears to keep momentum as well as descending, climbing and pedalling techniques. Finally, we’ll give you a basic guide to bike fitting to ensure you avoid some of the common aches and pains suffered by cyclists.

CORNERING
Manoeuvring a bike through a corner seems simple enough: simply turn the handlebars in the direction you want to go – right? No. Wrong! When you turn through a corner on a bike you don’t actually turn the handlebars. The turning of the handlebars – such as it is – is consequential on something completely different: you looking where you want to go!
Rule 1 – Look where you want to go
It might sound silly but the key to cornering on a bike is simply ‘to look where you want to go’ and the bike will follow. On a gentle curve, on a flat road this will be obvious to some extent. Simply keep pedalling and look ahead and the bike will go where you want. If you are a complete beginner you will have done this instinctively already but next time consciously note how little the front wheel turns when doing this – and how no input is required from you to the handlebars. ‘Looking where you want to go’ means looking beyond the beginning of a corner or what is immediately in front of you. As a corner gets tighter, the more important is it to look at ‘the exit’. This means focusing on where you and your bike want to be when you finish cornering – or when you ‘exit’ the corner. Remember your bike will go where you look so if you are not looking at the exit it doesn’t know that’s where you want to be!
So far, so good and cornering on a gentle flat road at a reasonably moderate speed should not present too much of a problem even for an absolute beginner. It is when the curves get tighter and the speeds higher that things can become a little more tricky BUT the same principle of ‘looking where you want to go’ applies only we now add our second ‘rule’ to that.
Rule 2 – Lean your bike
On low speed gentle corners your bike will barely leave the upright but as the curves become more extreme and your speed increases the key to initiating the turn is to lean your bike. Remember you are not steering your bike with the handlebars. They are just there so you can keep hold of your bike as you turn. With experience you will soon get used to how much you can lean your bike and how much grip your tyres have – which is far more than you’d think. Obviously if the road is wet or you are riding off-road on loose gravel you need to allow for this as grip levels will be less.
Rule 3 – Understand the anatomy of a corner
Anyone who has ever watched motor racing will have heard commentators and racing drivers talk about the ‘racing line’. In essence, this is the fastest way through a corner a driver can take. On a bike it is also the safest way, as it positions your bike correctly on the road while allowing it to pass through the corner efficiently. It is easiest to understand this concept with some illustrations.
Figure 1 below shows a 90 degree corner. The blue line is what a racing driver might call ‘the racing line’. You’ll note that the middle of the corner has been labelled ‘Geometric Apex’. This feature is very important for on tighter corners (90 degrees and more) where you cannot see ‘the exit’ the apex will be where you look initially as you begin your turn. As you move through the corner you’ll then transfer your focus to the exit as it comes into view.

On a normal road in the UK the illustration in Figure 1 represents just one side of the road and the apex will actually be the white line in the middle of the road. On an equivalent left hand bend the apex will be the inside of the corner bounded by the kerb or grass verge.
You will note that the blue line representing the path of your bike will start wide – in this illustration by the edge of the road/kerb, turn in, aiming for the apex/white line in middle of the road, then drifting out again to the side of the road. The same principle applies on left hand bends just in reverse: start by moving to the middle of the road/white line, turn in to the apex/edge of the road, and then let the bike drift to the white line/middle of the road. Obviously when riding on public roads where traffic can be coming the other way it pays to allow a little leeway when approaching the white line/or middle of the road unless you can see the road is clear. There is also another technique you can use to help with this.

Rule 4 - Taking a late apex
You will note that in Figure 1 above, the beginning, middle and end of the turn follow a symmetrical pattern. When bends get tighter and certainly on hairpins you will need to adopt a slightly different line. This same technique can be also be used to make your cornering safer on public roads.
One of the biggest mistakes new cyclists make when negotiating tight bends, and hairpins in particular, is to initiate the turn too early. The laws of physics dictate that the earlier you begin turning the sooner you will hit the apex and the earlier you will begin to exit the bend. This will cause you to run wider (see Figure 2). By turning in later and focusing on a later apex you’ll contain the arc of the turn and will exit later and without running wide. This technique can be applied to any bend – particularly of 90 degrees or more - to ensure you keep to the right side of the road!
It may seem counter intuitive but by turning in later you actually complete the turn more quickly.
When negotiating hairpins or other sharp bends remember that you initiate the turn by simply leaning your bike, don’t try to steer, simply lean your bike, focus on that later apex and let gravity do the rest. It can feel intimidating at first but trust this technique and you’ll find that it works. That will give you the confidence to trust your newly acquired skills and, as you know from previous blogs, confidence when cycling is king (or queen)!
Cornering can therefore be broken down to the following sequence:
The approach: you are looking well ahead, adjusting your speed by braking in a straight line to ensure you can enter the corner at a speed you are happy with. Stop braking. Initiating the turn: you begin leaning your bike into the corner all the while looking ahead at the apex of the corner. Completing the turn: let the bike drift to the exit of the corner.
There is one more important thing to complete the list of cornering techniques:

Rule 5 - Outside foot down
This piece of advice applies when descending or taking a corner at speed where you are not pushing the pedals. It serves two purposes: firstly by keeping your outside pedal at the six o’clock position when taking corners you are ensuring that your inside pedal will be as far away from the road surface as possible and therefore avoid clipping it in tighter bends when you are leaning your bike more. The second reason for doing this is to help the stability of your bike through the corner. By pressing down on the outside pedal in its six o’clock position you will be pressing the tyres into the road surface and increasing their grip. It is good practice therefore to ensure your outside foot is in the six o’clock position when taking any corner – even if it is relatively open and easy. You’ll then start to do it instinctively and when taking sharper bends at higher speed your feet will be in the best position without you even thinking about it.
It should be noted that all of the above is aimed at teaching basic techniques to help your cornering on tarmac roads and gentle off-road tracks with a firm surface like tow-paths. Cornering in more severe off-road environments is a specialist subject for more advanced cyclists and we will not address it in this blog.
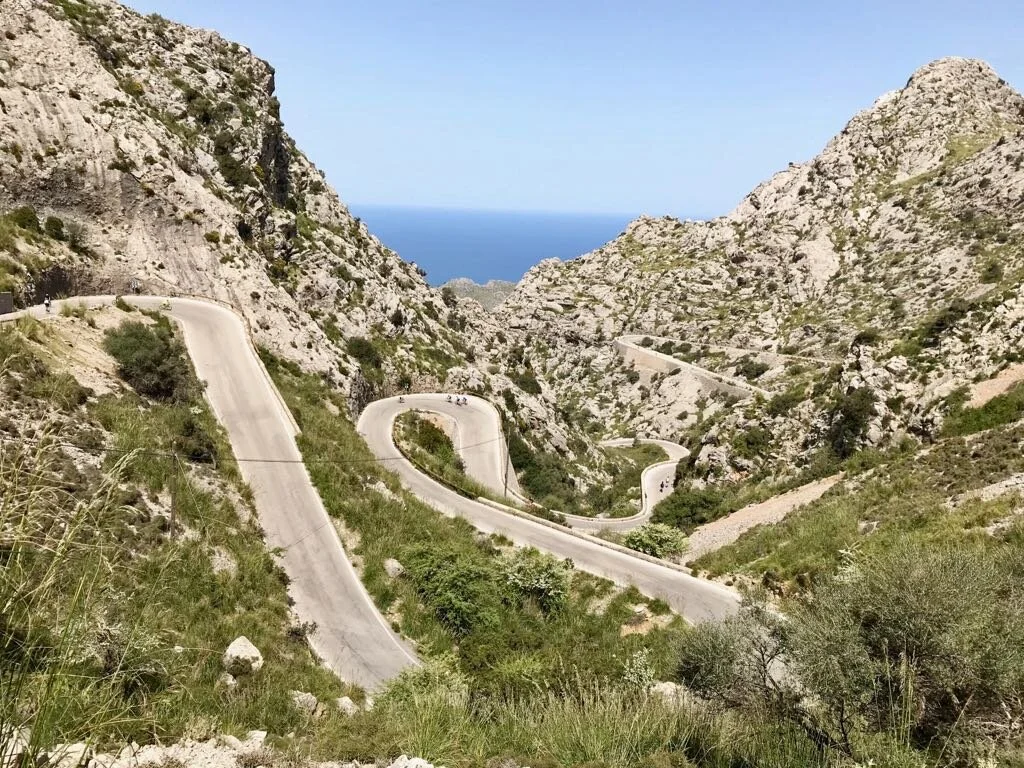
DESCENDING
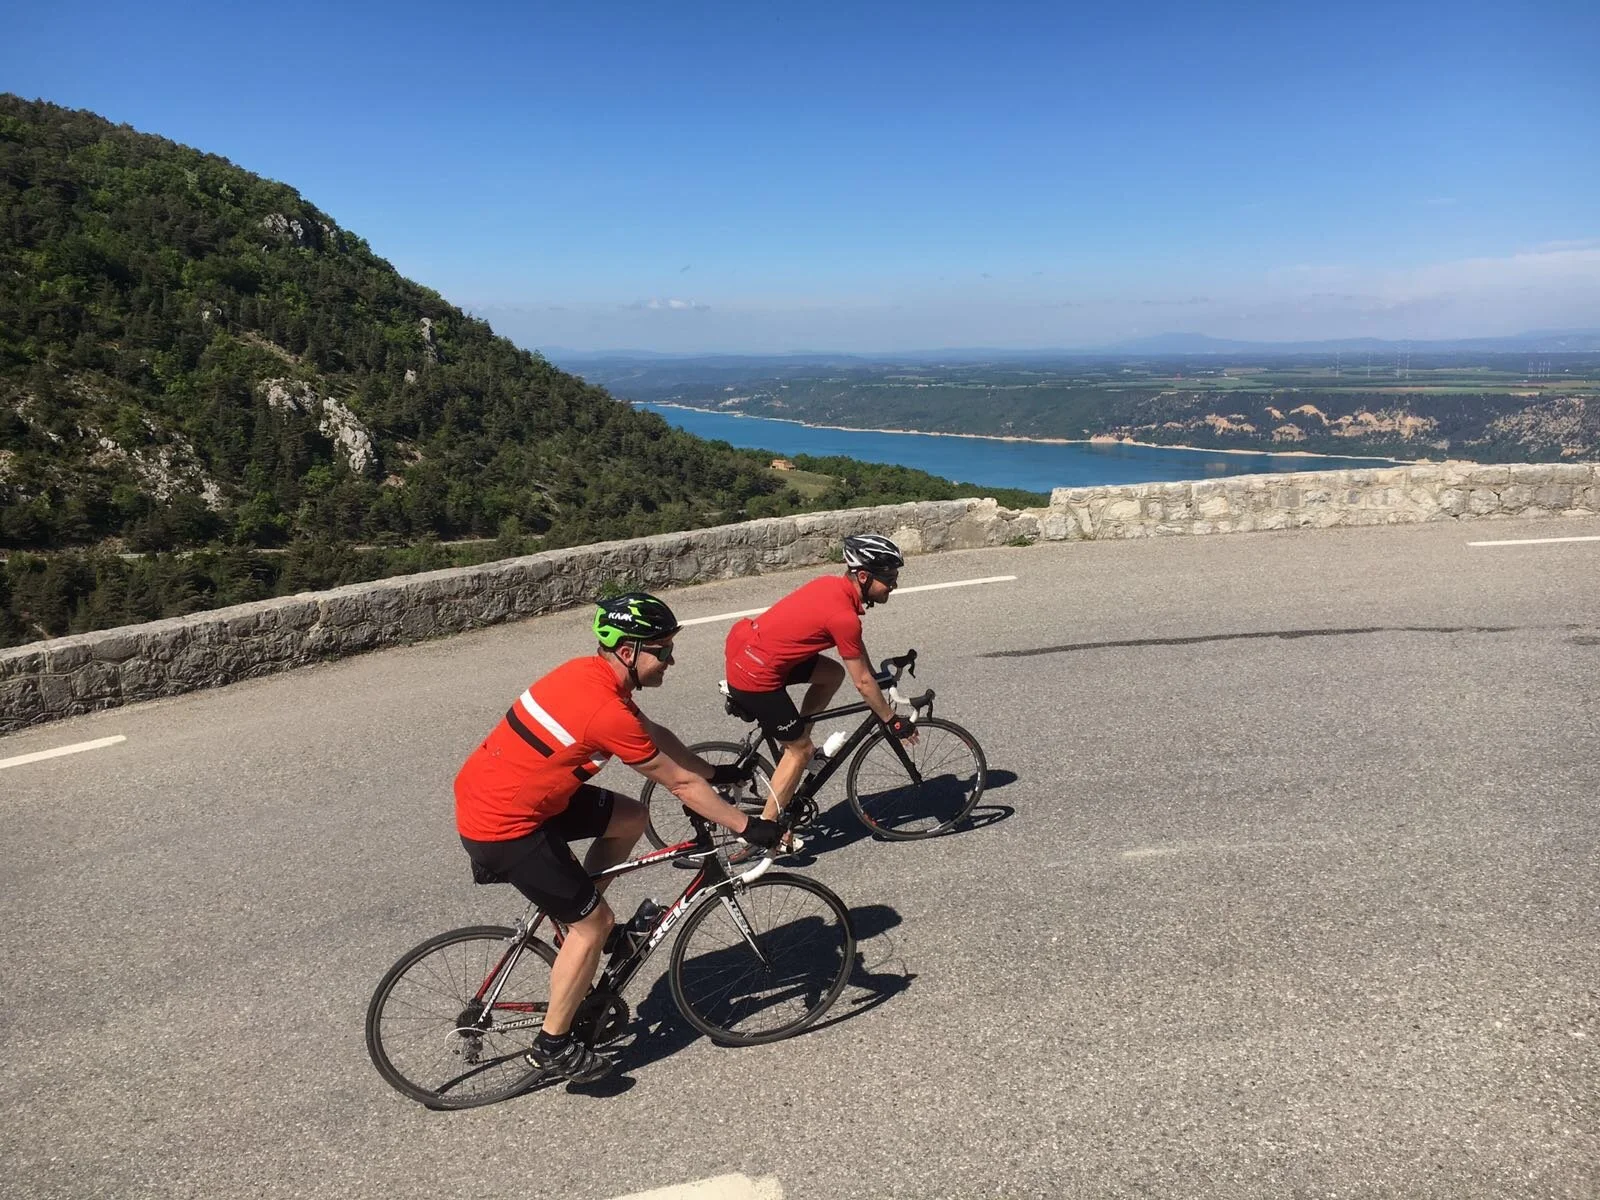
It follows naturally from our last cornering tip above to give you a couple of pointers on descending. If there is one single area where our clients express most fears it is about going downhill. As with many things, good technique is important in giving you confidence – and with confidence you’ll trust your technique and descend better. By contrast, bad technique will increase the chance of you losing control, amplify your fears and damage your confidence. We want to create a virtuous not viscous circle! So trust these techniques and you’ll improve your descending:
Rule 1 – Don’t brake . . . all the time!
Most nervous descenders think their enemy is speed and their friend is their brakes. Of course, hurtling down a hill feeling out of control is not what we are aiming for but neither is braking constantly. Firstly, you’ll destroy your brakes and possibly your wheels or brake discs. Not good! Secondly, your fingers will be impossibly cramped on anything remotely approaching a long descent and you ability to pull the levers will be compromised – also not good! And finally, and probably most importantly, if you are braking all the time you’ll never find out how quickly you can stop your bike at a given speed. So the rule I have with new cyclist clients is “you can brake as many times as you like but not all the time and always in a straight line. You MUST release the brake levers after each pull on them. No ‘ifs’ no ‘buts’!” This way you will find out how quickly you can slow the bike down. Leave the braking a little longer each time and brake firmly. Brake using 40% back brake and 60% front brake. You will not go flying over the handlebars as some new cyclists think but you will stop your rear wheel locking up and skidding. Obviously, it is good to practice this technique on gentle slopes first. Learn to feel how quickly you bike stops or slows down from a given speed.

Rule 2 – Handlebar and hands are important
If you are riding a hybrid or mountain bike try to have a relaxed grip on the handlebars and align your brakes so your arms, hands and brakes are in a straight line (see figure 3). This will reduce strain on your wrists. If you are riding a road bike descend on the drop handlebars. Many nervous descenders hate doing this as they feel it is unsafe. It is in fact significantly safer as a). It lowers your centre of gravity and makes the bike more stable through corners. b). means you can reach the brake levers much more effectively than if riding on the hoods. c). means if you hit a bump your hands will NOT potentially fly off the handlebars completely, leaving you out of control. Again, if you feel nervous about doing this to start, practice on gentle descents or even flat roads.

Figure 3
Rule 3 – Outside foot dowN
As outlined above.
Rule 4 – Take a late apex
As outlined above.
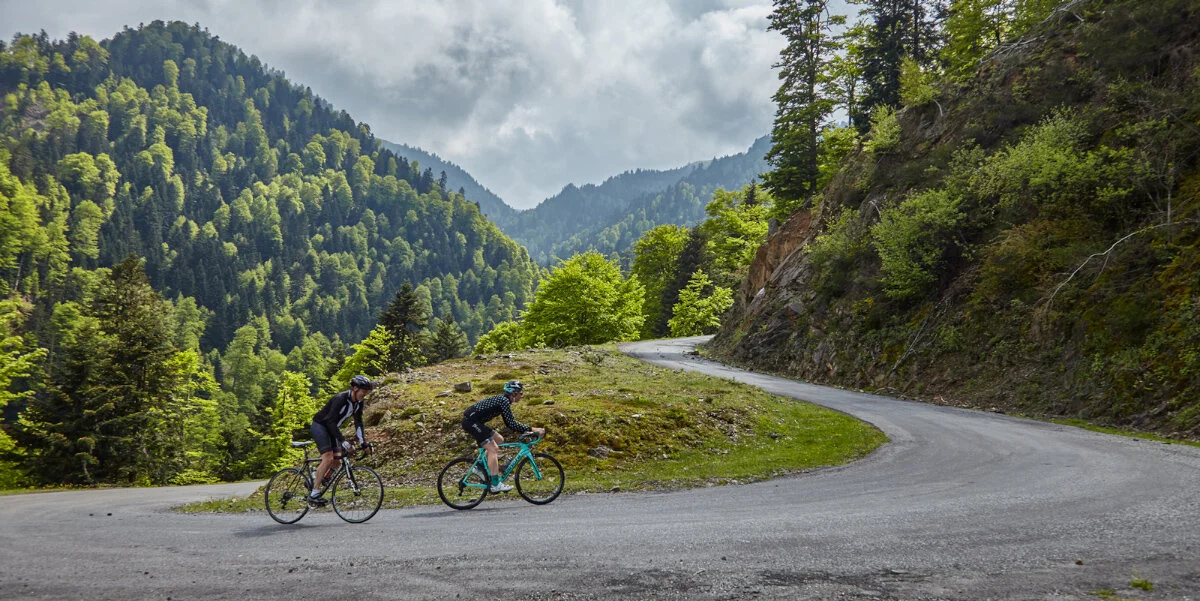
KEEPING MOMENTUM – how to use your gears
One of the best ways of making cycling a little bit easier is to understand the importance of maintaining momentum. Obviously, every time you decelerate on your bike you are losing some of the energy which you have already invested in moving it forward. Maintaining momentum means you don’t have to RE-invest more energy. This may seem very obvious but so many of the new cyclists we meet make life more difficult for themselves by not following a few basic rules to conserve momentum and thereby their energy.
Selecting the right gears
Whatever bike you are riding (unless it is a fixed gear or single speed version) you will have the option of making the pedalling easier or harder by selecting different gears. If you are cycling on the flat you’ll usually find a gear that suits your pedalling style. Cadence – or the number of revolutions the pedals make per minute (RPM) - can vary widely from person to person but we’d recommend that you try to let your legs rotate reasonably freely (roughly 80-90 rpm). This means that you should be able cope with slight rises in the road without losing too much momentum. If you are pedalling at a slower rate this can mean that you’ll lose momentum as your leg muscles find it too hard to push the pedals efficiently.
This principle applies even more when you are cycling on ‘rolling’ roads or tracks. As you descend a hump in the road you’ll obviously pick up speed. You should aim to change gear (upwards to make pedalling harder if you were still cycling in the flat) to keep the same reasonably high cadence you find comfortable as you descend then as you see the next rise in the road approaching try to keep this cadence by changing down through your gears (making it easier). This way you’ll carry the momentum you have built up in the descent into the rise and, with a nice fast cadence, you’ll keep it – sometimes to the top of the rise. Effectively you’ve ‘flattened’ the rolling road by enlisting your momentum to help climb the bits where it rises.
What many new cyclists do when faced with this kind of parcours is to coast without pedalling down the descents, then change gear (to make it easier) far too late at the beginning of the next ascent so that their legs can’t push the pedals with enough force and they grind to a halt (or very nearly) shortly after the road rises again. By using this simple technique of anticipating the ascent with your gear changes AND continuing to pedal on the downhill, the energy saving is huge. This tip is easy to learn and requires no other specialist skill or knowledge.
CLIMBING
Riding up hill is one of the biggest fears of many new cyclists – although some prefer to go up than go down! Obviously riding uphill requires more energy than on the flat – largely because gravity is inhibiting your momentum! Fortunately, there are ways of making the task a little easier.
Tackling short shallow hills is very much about using the momentum and gear selection techniques we talked about in the last section – at least to get you up the first few metres. Even on longer climbs without the benefit of a descent beforehand it is still useful to ensure you have selected a gear which will allow you to hit the bottom of the hill with a decent high cadence and then, before the hill begins to really bite, to change gear to make pedalling easier and to try to maintain this cadence as you climb. Try to avoid ‘grinding’ – i.e. pushing a gear which means your legs strain to rotate the pedals easily – as this isn’t just potentially harmful to your knees but lowers the efficiency of your pedal stroke (see section on pedalling technique below).

IN OR OUT OF THE SADDLE?
In general, although as I explain below, getting out of the saddle when climbing is a useful technique, on shallower climbs it can be more efficient if you stay seated – particularly if there is a headwind as you’ll be more aerodynamic. Stay relaxed. Many new cyclists are nervous about climbing so tend to tense up. Try to hold the handlebars lightly and relax your shoulders and not pull overmuch on the handlebars. Focus on pedalling smoothly (again see section on pedalling technique below) and on breathing rhythmically. Mentally, I often try to imagine my body is very light and my legs are spinning freely beneath me in perfect circles!
The confidence to take on longer hills will come as you gain fitness and leg strength but also as you get mentally used to progressively longer periods of pedalling at a certain cadence in a light gear.
Steeper hills (8% +) are often a huge challenge for new cyclists but the techniques remain largely the same. On steeper hills, alternating between sitting and standing changes your body position which relieves the pressure on one set of leg muscles by employing others. On climbs under 10% in dry conditions you should aim to try and stand as upright as possible on the pedals with your weight over the middle of the bike with your arms nice and straight (the only time you should have straight arms when riding your bike!) directly beneath you holding the handlebars. This way you’ll find you can rock the bike from side to side and ‘walk’ on the pedals. This will generate more power and you can often change up a gear or two just as you rise from the saddle to take advantage of this. When you then sit down you’ll change gear again to make it easier but sometimes you’ll find you only need to change down one cog having changed up two when you stood up. This can be a huge psychological lift when you have been riding in your lowest (‘granny’) gear for a while. It is like you have stolen an extra gear somehow!

If the slope is steeper than 10% or the surface is loose or wet you will need to adapt your ‘out of the saddle’ technique a little to ensure you get more of your weight over the rear wheel to stop it losing traction and on really steep hills in the wet you’ll simply have no choice but to stay seated.
Everyone will find they climb better either seated or standing so it is important to practice the one that doesn’t come as easily. I climb particularly well out of the saddle at a lower cadence but spend a lot of time practicing staying seated and ‘spinning’ (pedalling at a high cadence). In general, pushing bigger gears at low cadence requires more leg strength with power being generated most efficiently at around 65 rpm. Higher cadences save the legs but are generally more aerobically demanding to create the same amount of power – pushing up your heart rate and breathing. On long climbs it is good to be able to do both.
Finally, if you are a new cyclist and intimidated by climbing that hill on your daily commute, maybe find a longer but slightly less hilly route to start you off. If that’s not possible and there’s no getting round it - you’ll have to go over it! But relax! Take it easy. Start off using the techniques we have described above but if you only get a few yards up the hill before having to stop then don’t beat yourself up. Have a rest and if you can, start again. If it takes you a dozen short stints to climb the hill, then fine. Next time you’ll probably do it in ten sections and before long you’ll be riding halfway up and then the whole thing! If the hill is too steep to let you start again just push the bike the rest of the way. There is no shame in that. Next time you’ll get a bit further. The time after that a bit further and like the person who took it in bite size chunks, you’ll soon be cresting the top in one hit, wondering what all the fuss was about.

PEDALING
We often talk about ‘pushing the pedals’ on a bike but actually the downward element of the pedal stroke is only a part of the whole pedalling sequence. Most new cyclists – and certainly those riding without their feet attached to the pedals will focus on the downward element of the pedal stroke, if for no other reason than that it is hard to do anything else! It is important to think of pedaling as a series of circles rather than an up and down piston. Try to imagine the connecting arms of an old-fashioned steam train as they rotate the wheels of the engine rather than the ‘nodding donkey’ used to pump oil. Even if your feet are not actually attached to your pedals using this image to hone your pedalling technique can add extra power by ensuring that you start pushing the pedal forward first and then down.
If you imagine the pedal stroke as a clock where the downward element starts at just after 12 (the top of the stroke) and finishes at just before 6 o’clock (the bottom) you can see that the force is being generated by only half the stroke of one leg. Obviously, the other leg now begins its downward element but imagine if you could help that downward leg as it passes the 5 o’clock position by kicking the other leg forward as it passes the 11 o’clock position rather than waiting till it reaches 12 o’clock (the top of the stroke). You are using 7/12ths rather than half of the total pedal stroke of each leg to help move you forward. Now imagine if you were attached to the pedals how much extra help the leg moving upwards could give the leg pushing downwards! This is why cyclists clip in. Attaching yourself to the pedals just means things get easier!

CLIPPING IN - MAKES PEDALLING EASIER
The single biggest advantage of cycling with your foot attached to the pedals is the ability to use a range of leg muscles to help ‘pull’ the pedal up as well as push it down. Not only does this increase the power of the stroke but means you can share the load more evenly between those muscles meaning there is less chance of exhausting them. While graduating to ‘cleats’ and clipless pedals can seem a bit daunting to the new cyclist there are ways of making the journey a little easier. For example, as we discussed in our last blog on cycling kit, by using reversible pedals which are flat on one side and have a cleat on the other so you can swap between systems as you get used to the feeling of clipping in. It is a journey that you’ll only ever make one way as the benefits of being clipped in are so huge.
Once you are attached to the pedals you can start really focussing on the elements of your pedal stroke. If you analyse the pedalling of a pro-cyclist you will find that both legs are working throughout each stroke in a complimentary way. By successively engaging a sequence of muscles in each leg depending on the job it is being asked to do at a particular point on the pedal stroke they will be ensuring that at no point is there not tension on their chain, maximising the power they can output at any time. There will be no ‘dead-spots’ in their pedal stroke where they are not inputting power and effectively the bike is losing momentum. Unfortunately for us mere mortals we are unlikely to achieve this at first (if ever) but learning and practicing the principles is no bad thing.
As you can see from the diagram above each leg goes through a sequence of movements depending where it is in the cycle of the stroke. At first you may struggle to make this sequence very fluid and you may find it helpful to focus on one part of the sequence at a time. Practice kicking your legs over the top of the pedal stroke. Imagine you are trying to kick your shoe off like you might do with a loose pair of slippers. Then focus on scraping the mud from the ball of your foot at the bottom of each pedal stroke. You can then put the separate movements together and gradually gain extra fluidity. Practice on a flat bit of road and at an intensity level that is easy.
It can be useful to try and feel the tension you are placing on the chain. To do this engage a reasonably hard gear but one where you can still rotate the pedals smoothly. Pedal at a slow cadence – around 65 rpm and try to feel if the chain loses tension anywhere in the stroke. You should feel this in your leg/s and this loss of tension is often accompanied by a small clanking sound. If you can feel tension all the way through the stroke then change gear to make the pedalling easier and increase your cadence accordingly. You will find that the faster you pedal the harder it is to keep the tension. So practice at this cadence until once again there are no ‘slack spots’. Then repeat at an easier gear and higher cadence.

Some people also practice pedalling with just one leg. There are varying views on this in modern coaching but like the above exercise it can be a good way of identifying where you have dead spots in your pedalling as there is often a difference between the two legs. Being able to keep the bike moving forward smoothly with one leg and with no jerks is a sign of a smooth pedal stroke.
For those of you who like to understand the biomechanics of these things the diagram above shows which muscles are engaged at which point in the pedal stroke. The thickness of the colour band indicates the amount of useful power each muscle produces at the point in the stroke indicated. Initially your quads do most of the work to push the pedal down and then the glutes join in. Put at its simplest: as you reach the bottom of the stroke your calves and hamstrings then engage to pull the pedal back to the 9 o’clock position before the hip flexors return it to 11 o’clock and the quads start to cut in again.
Working on achieving as smooth and efficient a pedal stroke as possible will generate huge benefits allowing you to conserve energy and reduce muscle fatigue. But remember Rome was not built in a day and don’t expect to pedal like a pro after a few weeks of practice. Hopefully the drills above will give you a kick start to honing your technique.
BIKE FIT
All of the above presumes that you are riding a bike that ‘fits you’. By ‘fit’ we don’t just mean that you have a bike of the right size, although obviously this is the first thing you need to ensure. If buying a new bike you should be able to get guidance from the shop you are buying it from but if you are buying online and want a handy guide to calculating your frame size this should help:
Take off your shoes and stand with your legs about 15-20 cm (6”-8”) apart. Measure the height from the ground to your crotch this is what we call your ‘inseam’. You can now calculate your bike size as follows:
City bike – Leg inseam (cm) x 0.685 = Your frame size
Mountain bike – Leg inseam (cm) x 0.66 = Your frame size
Road bike – Leg inseam (cm) x 0.70 = Your frame size
There are also plenty of ready-reckoner tables online to help you get/check the right frame size for you. Once you are certain that the frame size of the bike you are riding is correct then adjusting the various elements on the bike – saddle, handlebar height, etc – to fit you is very important and the further you ride the more important it becomes. If you ride for 10 miles in an hour, your legs will rotate around 5,000 times. If your knees are too bent or not bent enough it is likely you’ll start to get repetitive stress pains in them or in the muscles around them.

ENGAGING A PROFESSIONAL BIKE FITTER
The best way to ensure your bike is well fitted to you is to engage a professional bike fitter. Unfortunately, a professional bike fit can be expensive and not all ‘bike fitters’ are equal! If you do decide to engage a professional fitter then ask them the following questions before you sign up with them:
1. How long does it usually take to do a bike fit?
2. Do you use a particular system? If not, what is your process?
3. I have an old injury (ask this even if you don’t!) Will you take this into account when fitting me?
There are other questions but if the answer to the above is in order: 1. Anything less than 2 hours, 2. No, followed by a vague answer, 3. Anything not involving a return question asking you what the injury is, then we would advise you steer clear of the bike fitter. A good fitter will be able to answer all the above in some detail and a good bike fit should take into account, not just standard good practice in bike fitting, but your particular physiology and any history of injury. In short, the fitter should be fitting the bike to you and not just following the basics we will outline below.
BASICS OF BIKE FITTING
Obviously, it is hard for us to do more than outline the basic principles of making bike fit adjustments and this is why if you follow this advice and still experience pain of any sort – no matter how minor - we would always recommend getting a professional bike fit. Having said that here are the basics you can use to ensure you have a bike that is fitted to your needs at least in principle.

THE SADDLE
Saddle Fit: the first thing to address is how well your saddle fits you. Everybody is shaped differently and what may suit one person almost certainly won’t be right for another. It is worth spending a bit of money to ensure you have a saddle that fits you and is comfortable. Many bike shops operate a loan system so you can try before you buy. Simply spinning up and down the road outside the shop is unlikely to tell you enough!
Saddle height: this is probably the most important element of ensuring your bike is adjusted to suit you specifically and we touched on this in our first blog. Here is a reminder of the basics: start with the saddle in a level position, parallel to the floor. And then sit on the saddle, pedal with your heels on the pedals. Your foot should maintain contact with the pedal without having to rock your hips when your leg is at the bottom of the pedal stroke
Saddle adjustment forward and back: Move the saddle forward or backward so your knee is over the pedal spindle when the crank is in the 3 o’clock position. This will be a good starting point. If you are cycling with cleats you can then adjust your cleats as needed to fine tune them. To do this use your thumb to feel the ball of your foot on the inside of your shoe. With a pen, put a small mark on this point of your shoe so you can set the cleat using this as a benchmark (see below).
Saddle tilt: it is advisable to slightly tilt your saddle downwards by about 2 or 3 degrees. This will help you avoid putting too much pressure on your perineum (the tender bit in front of your ‘sit bones’ which are basically the bony bit of your backside!) and also mean that you will be less likely to slip back on the saddle when the road rises.

HANDLEBARS
Handlebar width: The width of the bar should match the width of your shoulders, which will keep your arms in a neutral position when your hands are on the brakes or in the case of a road bike, on the brake hoods.
Handlebar reach and height: You also want to ensure the handlebar reach is neither too long nor short, as it can cause neck, shoulder, back pain, and compromise bike handling. On a road bike you should be able to reach the brake hoods with a comfortable bend in the elbows without feeling like you need to move your body forward or backward on the saddle – assuming you have set your saddle position correctly above. There is a tip which will give you a rough guide to seeing if your ‘reach’ is right. Simply position your elbow on the tip of the saddle and stretch your arm for forward. If your fingertips can’t touch the stem then the reach is too long. If your fingers overlap the stem significantly your reach is probably too short. On a road bike with drop handlebars, you can adjust this distance a little by rotating the handlebars upwards or downwards to raise or lower the brake hoods. This will also adjust how much you are sitting upright in the saddle by slightly raising or lowering the handlebars.
On all bikes you can also shorten or lengthen the stem (the bit that attaches the handlebars to the steerer and front fork) to adjust your reach. Obviously a longer stem increases the reach and a shorter one decreases it. It is possible to buy stems at various angles which again can raise or lower the level of the handlebars and alter not just your reach but how upright you are when sitting on the bike. There are even stems which are adjustable so, theoretically you can find the perfect handlebar reach and height for you.
Adjusting brake levers: This will generally apply to road bike users where they will want to access the brake levers while on the drop handlebars. Many of our clients with smaller hands don’t realise that you can adjust the gap between the handlebars and the brake levers. There is generally a screw under the brake hoods which you can turn with a screwdriver and bring the levers closer to the handlebars which means you’ll be able to reach them more easily if you have smaller hands.

Setting cleats: As a general starting point for many riders, you can set the middle indicator on the cleat about 5mm, from the ball of your foot which you have marked on your shoe as indicated above. The angling of cleats and the lateral distance they are set from the crank (Q-factor) is dependent on each rider’s individual body structure, however, you want to make sure you don’t feel any twisting or tension in the ankles, knees, and hips while pedalling. You should start with the cleats set straight ahead and make minor adjustments from there. Note that each foot could require different angling.
Finally, a short summary of how bike fit might relieve cycling pain
Front knee pain: A saddle that is too low will cause your knee angle to be too tight at the top of the stroke, which is likely to result in pain at the front of the knee. Likewise, a saddle which is too far forward can result in front of knee pain.
Rear knee pain: If your saddle is too high or too far back you can get pain behind the knee because you are over-extending the knee.
Back pain: A saddle which is too high or handlebars that are too far forward or too low can cause back pain particularly for new cyclists whose back muscles have not yet become accustomed to the position requiring them to lean forward on the bike.
Pain on the inside of the knee: Misaligned cleats that are positioned too close to the insides of your cycling shoes increase the distance between your feet, which can stress the inside collateral ligaments and cause pain in the inner (or medial) sides of your knees.
Pain on the outside of the knee: Misaligned cleats that cause the foot to be excessively ‘toed in’ along with cleats that are placed too far to the outsides of the shoes, causing too narrow of a stance on the bike can cause pain in the outside of the knees.

We hope these tips will have been worth reading if you are relatively new or returning to cycling after a while. At Viva Velo there is nothing we like more than helping people achieve their goals, and push their boundaries wherever they are in their cycling ’career’. While our tours are always tailored to the needs of each group and individuals will be matched with riders of the same ability we are also now looking to run weekend breaks in the UK specifically designed for new and returning cyclists. Our ride leaders have a wealth of experience they can pass on to improve your cycling and increase your enjoyment. Why spend years learning what you could discover in a single day? Simply click the button below or email us at enquiries@vivavelo.uk to find out more. Hundreds of our clients have benefited from our advice as you can find out from their feedback at www.vivavelo.uk.